Pest and Mold Problems Resolved in Radcliff, KY
Challenge
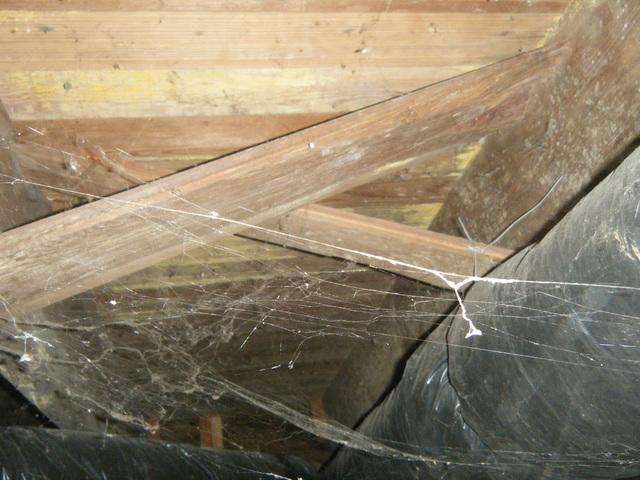
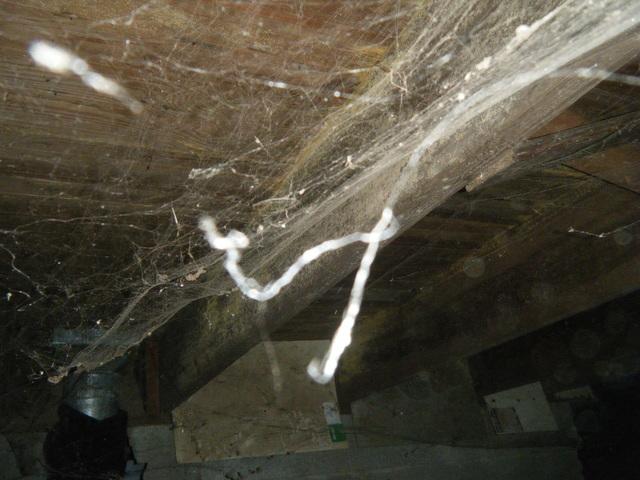
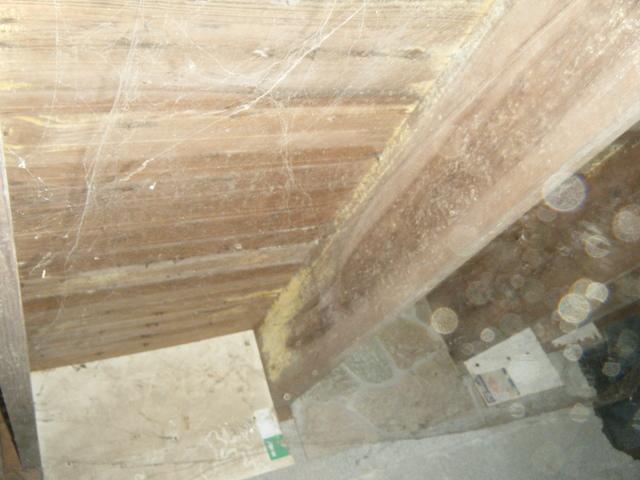
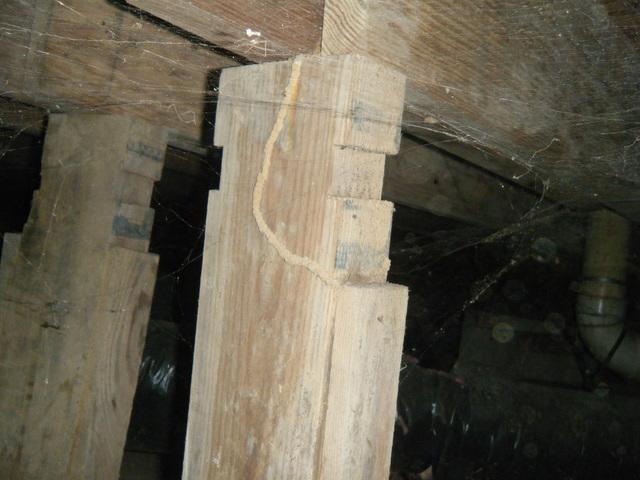
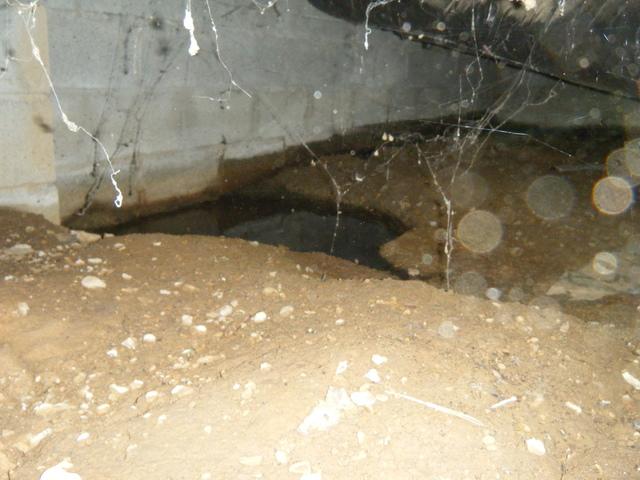
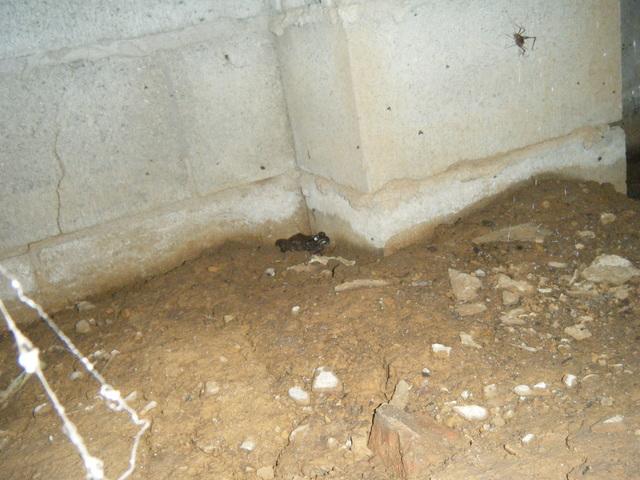
The homeowners in Radcliff, KY called Healthy Spaces after having Swat Pest out to resolve a spider infestation problem in their 1300 sq ft crawlspace. These homeowners realized that the spiders were attracted to the crickets and other critters who were living in the crawlspace. These other critters were attracted to the moisture and mold growing in the crawlspace. An additional challenge that was discovered by the Healthy Spaces Project Manager, Damon Cheatham, was that two of the support posts had degraded and been inexpertly replaced. This was causing the main level floor to sag, squeak, and feel spongy. In one corner of the living room, the china cabinet would shake each time someone walked across the room and the heirloom china plates would shift and fall off their hangers. The homeowners were upset because two plates had broken and 4 others were chipped.
Solution
The homeowners decided to permanently encapsulate the crawlspace to isolate it from the ground moisture with CleanSpace and replace the support posts with SmartJacks to stop the floor from shaking.
The first step in the repair process was to have Swat Pest take care of the pest infestation.
Second, the installation team installed new SmartJacks in the crawlspace in order to stabilize the sagging crawlspace floor. These SmartJacks are adjustable, so the team was able to completely eliminate the sagging and squeaking.
Next, the installation crew removed the spiderwebs, insulation, and debris from the crawlspace. The team then regraded the crawlspace to create a smoother floor to lay the Cleanspace on. The homeowners elected to have the team place dimple roll underneath the Cleanspace to further cushion the floor and collect water.
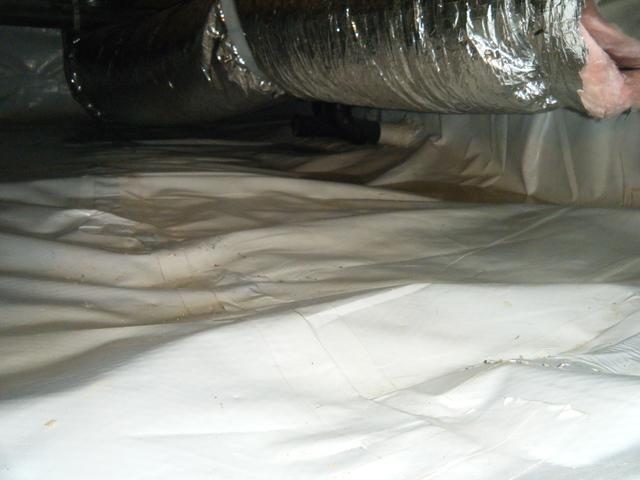
Finally, the Cleanspace vapor barrier was rolled out over the dimple roll and wrapped around the base of the SmartJacks and up the walls. Pinkie Roll was then attached to the crawlspace walls to completely isolate the crawlspace from the ground.
Project Summary
Project Manager: Damon Cheatham


About the author
