Brandenburg, KY Crawlspace Restoration
Challenge
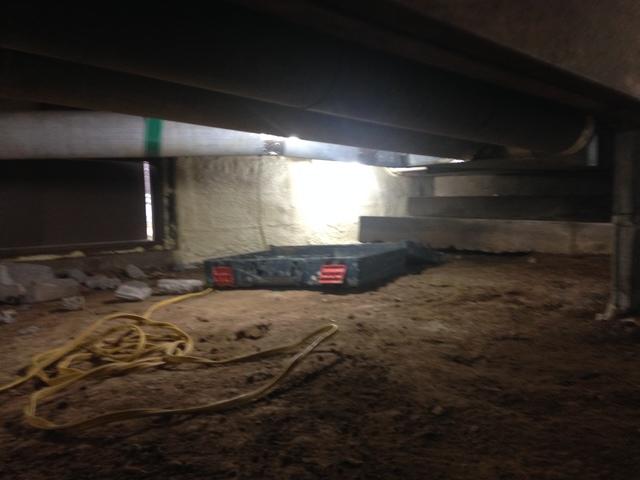
The H family of Bradenburg, KY were completely overwhelmed with what it would take to create a decent fungus free crawlspace under their 2452 square foot home. The crawlspace was only 21" tall and the grade was uneven. There was even some step like recesses that made the edges of one side of the crawl virtually inaccessible. On top of that problem, they also knew that the crawlspace needed a fungal remediation and immediate encapsulation to prevent that fungus from coming back.
Solution
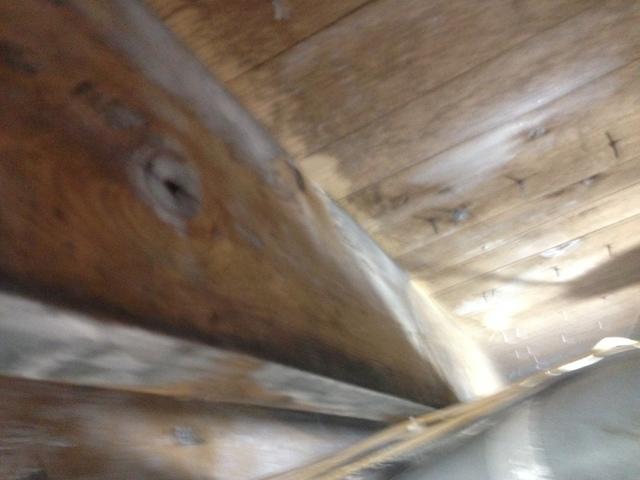
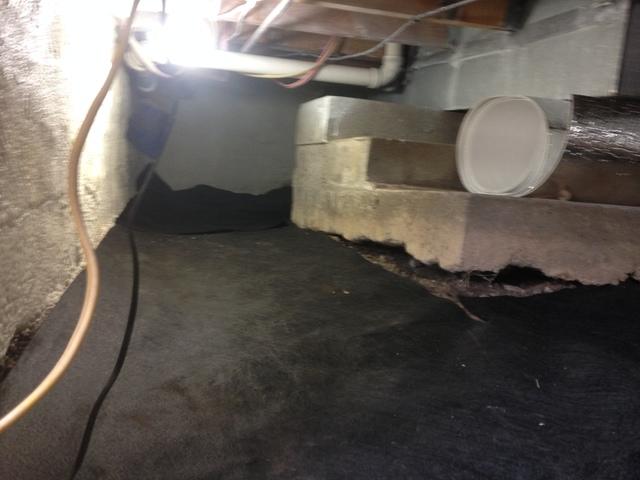
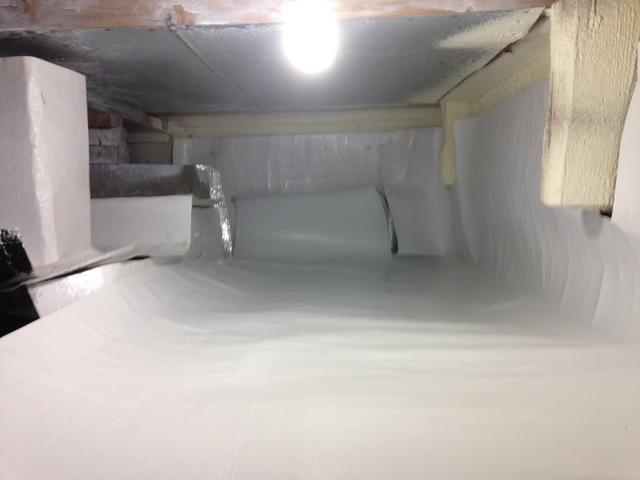
The Healthy Spaces team created a custom crawlspace restoration plan for them. Damon started with a fungal remediation, sealing the open vents, and regrading as possible, then progressed through a full waterproofing and CleanSpace installation. "Damon was very thorough and made sure that we knew exactly why each component and part of the system was where it was and why it would work", said Mr. H. Throughout the installation Richard, the project foreman, made sure that the Hutchensons understood every aspect of the progress that the team made each day. On day 1, the fungus remediation began including a scrub down of all surfaces, especially the wooden subfloor joists and beams. Next, the waterproofing system was laid in prepared channels. The Healthy Spaces team used Basement Systems crawlspace waterproofing products to ensure that the crawlspace would not fill up with water. They installed a powerful Zoeller Super Sump to remove the water from the crawlspace. After the waterproofing was installed, all the vents were sealed and the crawlspace was ready to be encapsulated. Encapsulation is more than just rolling out a vapor barrier. CleanSpace is installed around each pillar or support post and wrapping these items is similar to wrapping a Christmas present. "It takes a lot of practice to make sure that you've properly covered every little bit of the post and that you still have enough left over to ensure a continuous CleanSpace coverage past the floor", says Richard. Finally, the CleanSpace is anchored to the walls and the CleanSpace on the floor is rolled out and taped up properly. All seams are triple checked that there is no gaping or bunching and the system is complete!Loo
Project Summary
Project Manager: Damon Cheatham
Installing Contractor: Healthy Spaces


About the author
